Showing posts with label crochet doily. Show all posts

Saturday, 14 February 2015

"the ice maiden" by Tracey Evans

I covered my canvas with ivory and lead Powertex hardener in a random pattern. Once fully dried I transferred the image using Powerprint, my main concern here was making sure the Powerprint was spread evenly and didn’t dry out anywhere before I put the image down ready for the transfer, it’s important to be quick and thorough when using a larger image otherwise it can be so disappointing to reveal your image and find a crucial bit hasn’t transferred


I added a little more hardener and gently worked in some Stone Art powder, picking up the texture by dry brushing with ivory Powertex hardener once everything was dry.

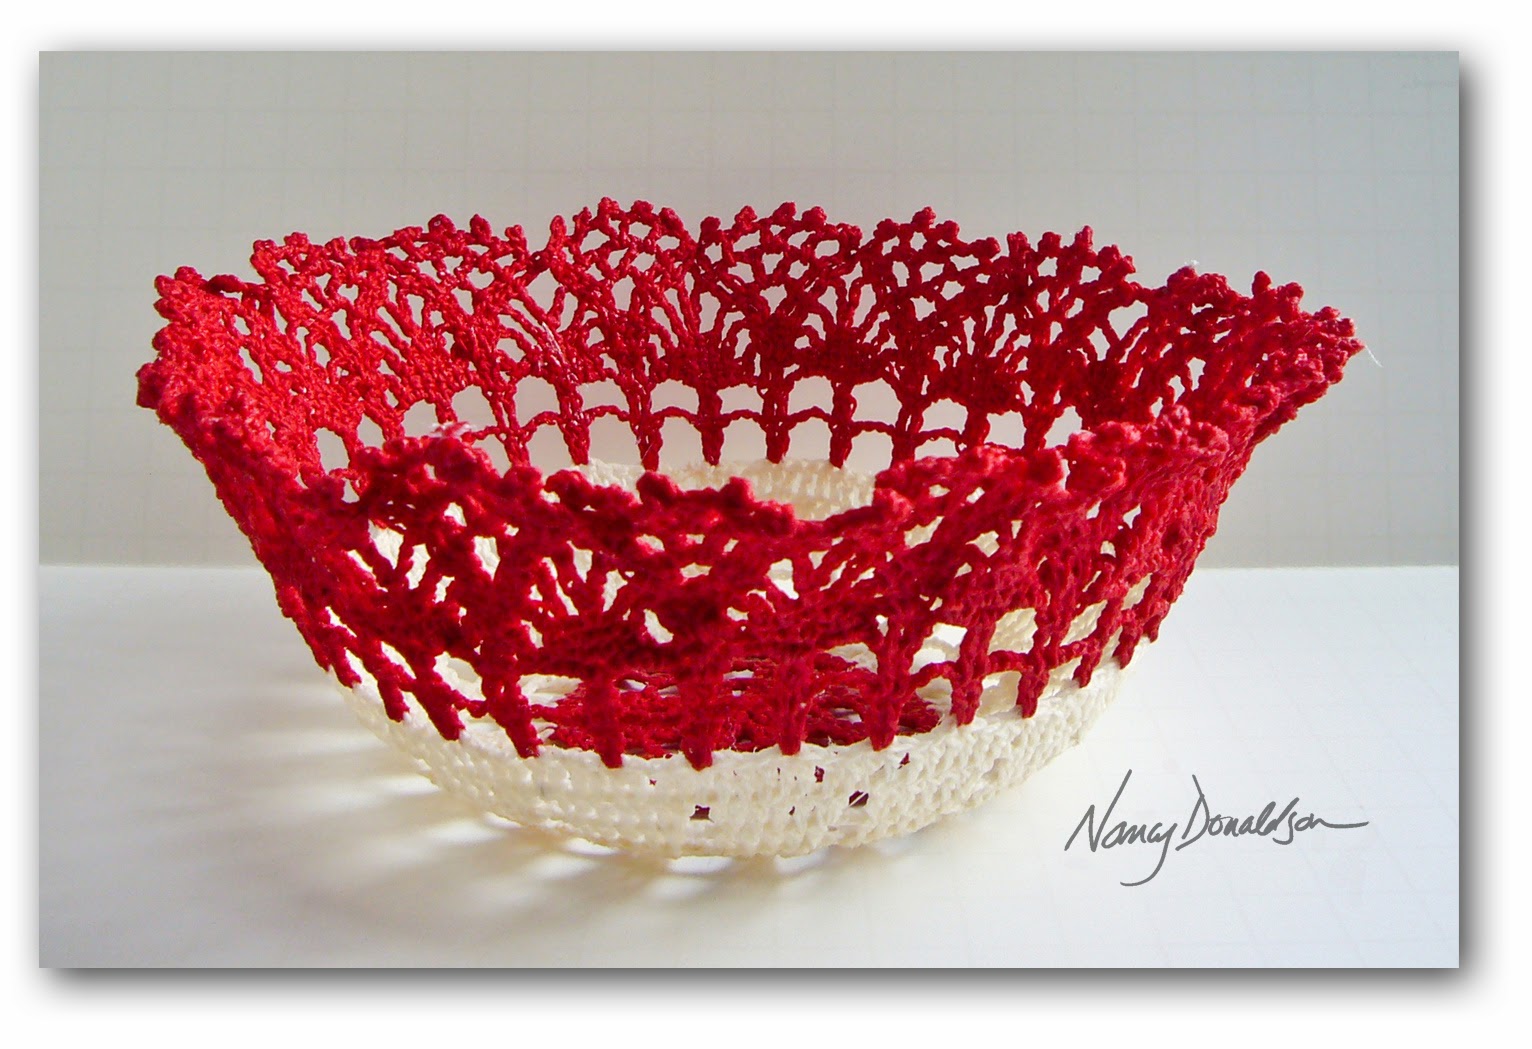
I chose some pieces of cotton lace ‘snowflakes’ to embellish my piece and rubbed in ivory hardener before applying them onto my canvas. I then used a stencil and some Easy structure to add interest in my corners, you can see detail of this above.
A touch of silver and gold colortrix and I was done!
What about the little birdcages I hear you ask?
I have no excuse for that, I liked them and felt they were right for the spot!
 
(this was originally post by Tracey on her blog seen here
and re-posted with her permission)

Monday, 17 November 2014

powertex dancer

"daniella"
 
  even though powertex is a fabic hardener
you can still show motion and movement
 
using wire and foil for the body and styrofoam for the head
I cover the form with powertex and stoneart
the dress , a crochet doily , really finishes it off
 

Wednesday, 5 March 2014

Powertex meets Resin


Featured artist Carmi Cimicata  works wonders with powertex to create these wonderful bezels
 

Working with some of her favorite things;  vintage, handmade sewn trims and linens.  She poured some black Powertex into a tray and soaked her pieces in it. 
 " Powertex is a highly versatile product that makes most porous surfaces hard and weather resistant. This amazing product gives form and structure to cloth, paper, wood, gauze, concrete, plush toys, cardboard and more"
She decided to suspend her trims in a silicone baking tray.  This way she could create the shape she needed and also make removing the dried pieces easier.
One last step before letting her pieces dry.  Since the crocheted pieces have open areas she knew it would not hold the resin until it was lined.  She cut some squares out of a napkin.  The napkin paper is so thin, but it became super strong soaked in Powertex. 
This thin piece of paper then became the liner for the crocheted fragments. She let these Powertex pieces dry overnight.
The next day she had these truly unique bezels!  Note that only the Powertex soaked into the fabric dried.  The excess dripped to the bottom of my baking tray.
She coloured her crochet with paints and metallic rub-ons and then  added imagery and inclusions to the bezel shape she created.
above details of Carmi's work
 
"What I love the most about this technique is how beautiful my trims look.  All their detail is intact and I have created one of a kind bezels.  It is safe to say that I will be doing a number of Powertex experiments in the next few months!"
------
to see more details and more projects using these finished bezels
check out here blog postings
There is a second post showing you the felted collar I created to showcase one of the bezels.
There is a third post showing you the brooch I created to showcase the second bezel. 

Saturday, 15 February 2014

Easy bowl project

This project is great as an introduction to the powertex products
It's as simple as wraping a bowl with saran wrap , soaking doily in clear powertex,
forming it over the bowl and letting it harden.